Every School Eventually Asks for This
"Can Class 1 to 5 have the blue card and Class 6 to 10 the maroon one?" "Can each house get its own colour — red, blue, green, yellow?" "Can bus students have a different card so the conductor can spot them?"
These requests are reasonable, and they used to be genuinely painful. The usual workaround is to duplicate the template four or ten times, change one image in each copy, and then remember which template belongs to which class — forever, including every time the school asks for a text change that now has to be repeated across all ten copies.
The Condition Designer removes the duplication entirely. One template. One layout. The background swaps itself based on the data.
How It Works
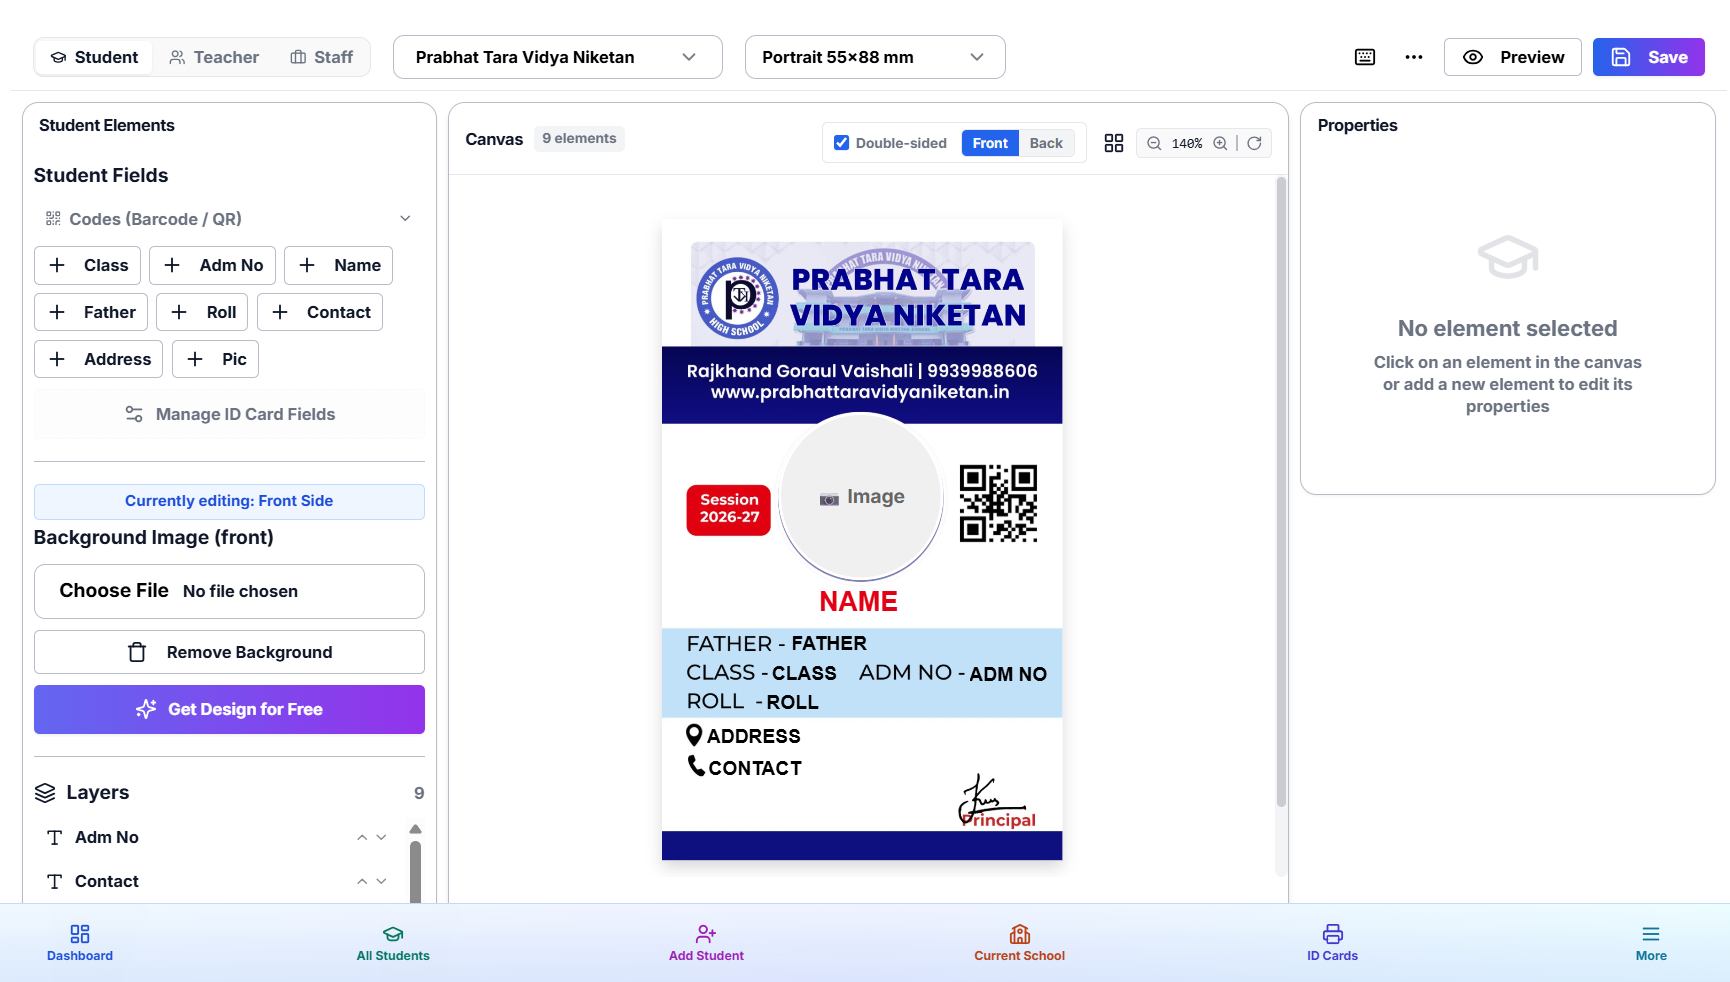
A conditional design has three parts:
- A deciding field. Any non-image field on the record — Class, Section, House, Bus Route, Hostel, Category. This is the field the card "asks" before rendering.
- A set of rules. One rule per value: Class 10-A → this background, Class 9-B → that background.
- A fallback. The template's normal background, used whenever a record's value has no rule or the field is empty.
At render time — in the preview, on the ID Cards page, and in every PDF export — each card reads its own value for that field and picks the matching background. Value matching ignores letter case and stray spaces, so "10-A", "10-a" and " 10-A " all land on the same rule.
Setting It Up in Six Steps
- Open your template in Dashboard → Designer.
- Click "Condition Designer" in the toolbar and turn the Enable switch on.
- Choose the deciding field. The moment you pick one, ID Card Master scans your records and lists every unique value it finds — your actual classes, your actual houses, no typing.
- Add anything missing. Starting a new class that has no students yet? Add the value manually and it gets a rule like any other.
- Upload a background per value. Front background for each rule, plus a back background if the template is double-sided. Images are compressed on upload so cards stay fast to render.
- Preview and save. Use the preview control to cycle through values and confirm each design, then save the template.
Real Uses Beyond Colour Coding
Class or grade bands
Primary in bright colours, middle school in a calmer palette, senior secondary in a formal dark design — while name, photo and roll number stay in identical positions across all of them.
House system
Four house colours from one template. Sports day cards, house-wise assemblies and inter-house events become instantly readable from a distance.
Transport and hostel
Bus students get a card carrying their route colour; day scholars get the plain one. Gate staff and conductors identify the right group without reading small print.
Staff categories
Teaching staff, administration, security and support staff on one template with four background variants — a common request when a school wants visual role separation at the gate. If you print for offices and factories too, see growing your ID card business beyond schools.
What You Save
- One template to maintain. A layout fix, a font change, a new field — you make it once, and every variant inherits it.
- No template picking. Nobody has to remember which design belongs to Class 7. The data decides.
- Bulk export stays bulk. Print the whole school in one go; each card still carries its own background.
- Safe defaults. A student with a blank class still gets a valid card instead of an error or a blank sheet.
Practical Tips
- Keep the layout identical across variants. Change colour and artwork, not the position of text — otherwise long names will behave differently on different variants. Our text auto-fit guide explains why that matters.
- Match the exact card dimensions in every background image, so nothing stretches or crops.
- Clean your data first. "10 A", "10-A" and "X-A" are three values and will need three rules — standardise class names before setting up rules. If you are about to promote classes anyway, do the class migration first and set up rules on the clean values.
- Keep the default background sensible — it is what new or unmatched records will use.
Try It on Your Next School
Open your designer, pick a template, and set up two rules to see how it behaves. The Condition Designer tutorial section walks through the whole flow with screenshots.