The Annual Chore Nobody Budgets For
Every April, the same thing happens at every school you print for. The students are the same people, the photos are mostly the same, the data is already in the system — but every single one of them is now in a different class. Roll numbers have been reissued. Last year's cards are obsolete.
The naive fix is to re-import the whole school from a fresh Excel sheet. That is slow, it risks duplicate records, it throws away photo history, and it means re-doing work you already paid for. Class Migration exists so you never have to do that.
What Class Migration Actually Does
It takes every active student in a source class and moves them to a target class in a single operation. In the same action, you can optionally:
- Reset Photo Status to Pending — so this year's photo collection starts with a clean list of who still needs to be photographed
- Reset Card Status to Pending — so printed/not-printed tracking restarts for the new session
- Clear selected fields — Roll Number is the classic one, since it is reissued every year; the dialog lists every field on the school so you can tick whichever go stale
Everything you did not tick stays exactly as it was: name, date of birth, parent details, photo, and the student's history.
Step by Step
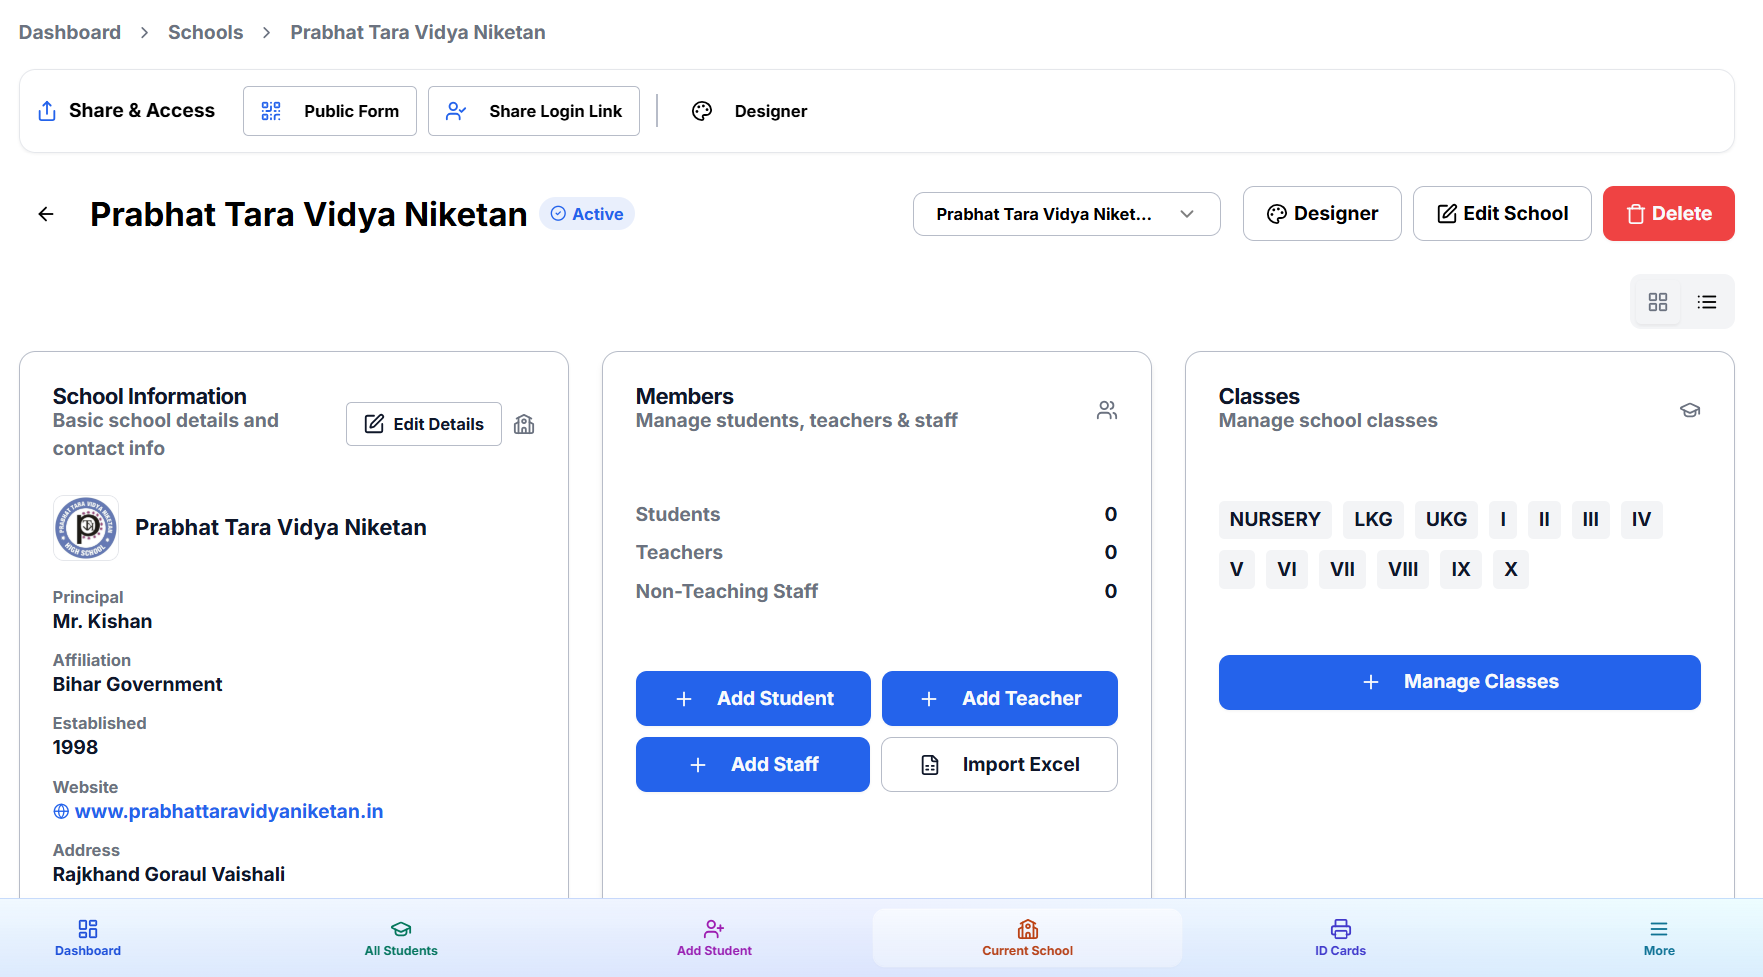
- Open the school. Dashboard → Schools → the school you are working on.
- Click "Migrate Class". The migration dialog opens with three numbered steps.
- Pick the source class. As soon as you choose, the dialog tells you exactly how many active students the migration will affect — check this number before going further.
- Pick the target class. Choose an existing class from the list, or switch to custom entry and type a new one such as XI-Science or UKG. New classes are registered on the school automatically.
- Choose what to reset. Tick photo status, card status, and any fields to clear. Leave everything unticked for a pure class change.
- Confirm migration. All matching students are updated at once, and the school's class list refreshes with the result.
The Right Order to Migrate
This is the one thing that trips people up. Work from the highest class downwards:
- Move the outgoing final-year batch out first — migrate Class 10 to Unassigned or to an alumni class of your own naming.
- Then Class 9 → Class 10.
- Then Class 8 → Class 9. And so on, down to the youngest class.
- Finally, import the new incoming batch into the entry class.
Going in this order guarantees that two batches never sit in the same class name at the same time. If you go upwards instead, Class 9's students land on top of Class 10's before Class 10 has moved.
Students Who Leave — Don't Delete Them
Transfers, dropouts and passing-out batches should be migrated to Unassigned rather than deleted. Their records and history stay intact, they disappear from your active class lists, and if a transfer certificate gets cancelled and the student returns, you migrate them back in seconds. Unassigned also works as a source class, so students imported without a class can be swept into the right one later.
What to Do Right After Migrating
- Collect the year's new photos. With photo status reset, the pending list is exactly the students still to be photographed — the Photo Lab batch workflow handles the processing.
- Fill in the new roll numbers. If you cleared them, bulk-update them from the school's fresh list.
- Check your conditional designs. If your template changes background per class, confirm every new class value has a rule — see the Condition Designer guide.
- Print the new session's cards. Queue them class by class in the Print Basket and export one combined PDF for the whole school.
Why This Matters Commercially
For a vendor with twenty school contracts, session rollover is the single largest data-entry event of the year. Doing it by re-import costs days of work and introduces duplicates that haunt you all year. Doing it by migration is a few minutes per school, keeps the historical record intact, and leaves you free to spend April printing instead of re-typing.
Open your dashboard to migrate your first class, or read the Class Migration tutorial section for the annotated walkthrough.