The Problem: One Export Per Class Doesn't Scale
If you print ID cards for a living, your day rarely looks like "one school, one class, one PDF". It looks like this: forty cards left over from a school you finished last week, twelve reprints from another school, a fresh batch of teachers, and a handful of new admissions across three classes — and all of it needs to go onto the same sheets of PVC or paper today.
Exporting each of those separately gives you six PDFs, six half-empty A4 sheets, and a lot of wasted card stock. The Print Basket solves exactly this.
What the Print Basket Is
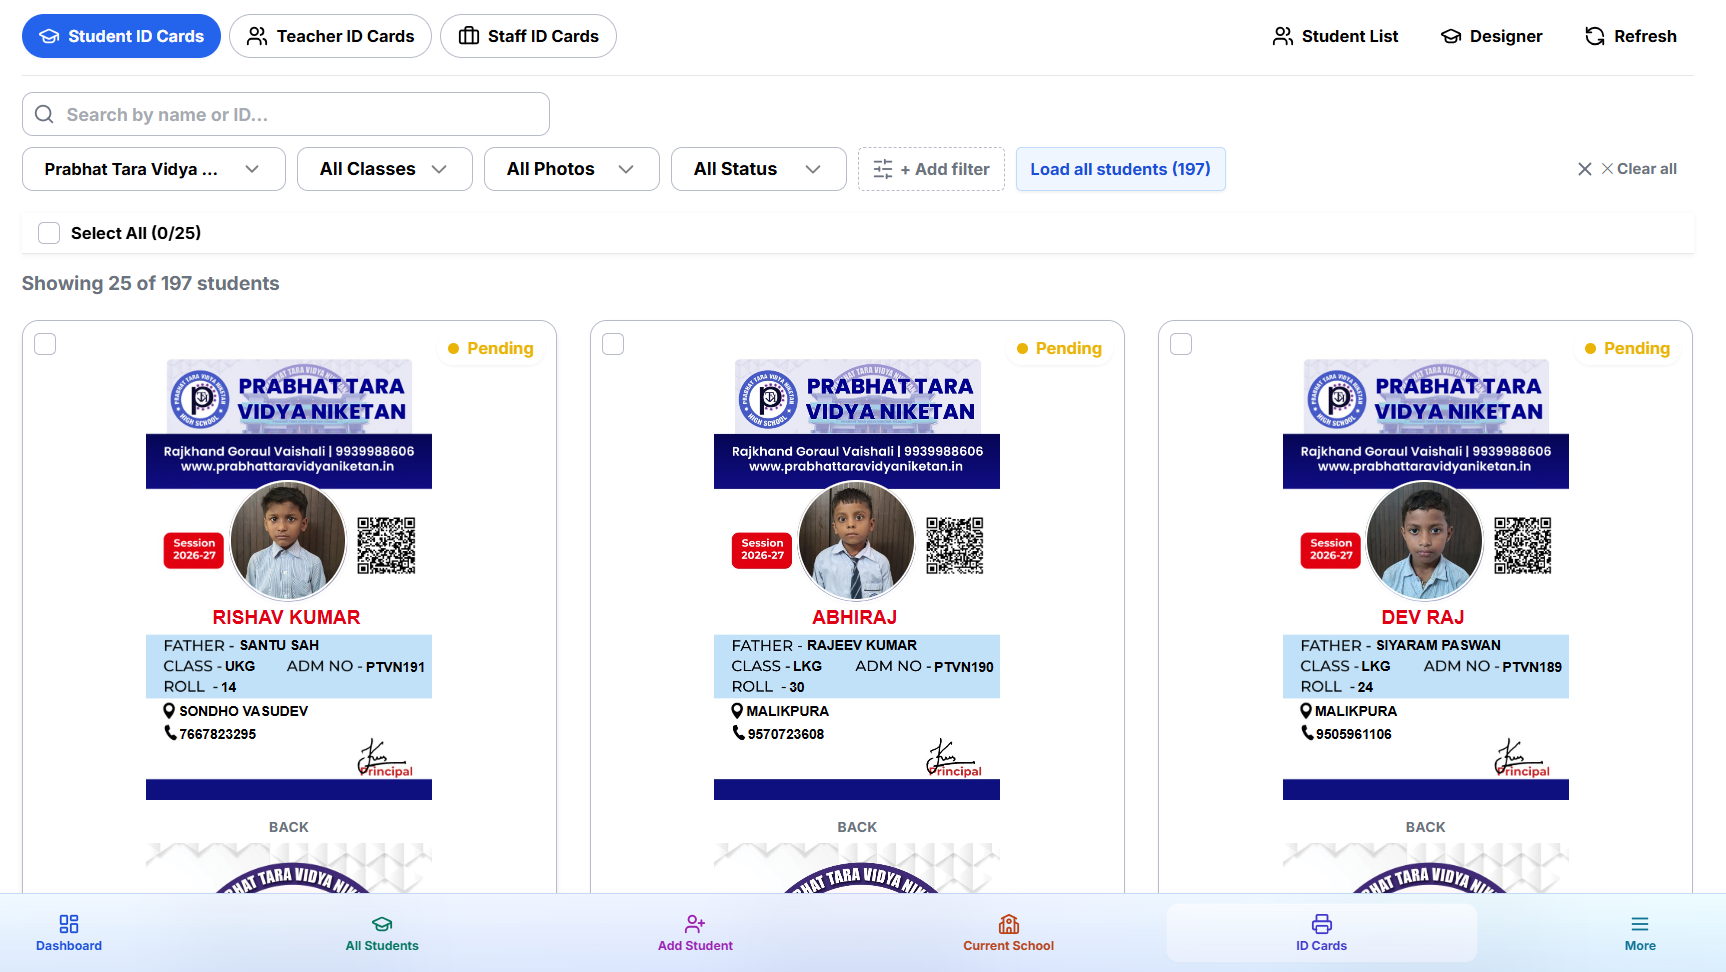
The Print Basket is a shopping-cart style queue for ID cards. You add cards to it from anywhere in the dashboard, and when you are ready, you export the entire queue as one combined, print-ready PDF.
What it accepts:
- Any record type — students, teachers, non-teaching staff, employees, or organisation members
- Any school — cards from ten different schools can sit in the same basket
- Any class or filter — pick a whole class, or three students from four different classes
Cards are stored grouped by school and record type. Each group remembers its own card template, so a combined export still renders every school's design correctly — the merge happens at the PDF level, not by forcing one template on everyone.
How to Use It — Step by Step
- Open an ID Cards page. Dashboard → Students (or Teachers / Non-Teaching Staff / Members / Employees) → ID Cards.
- Select the cards you want. Filter by class or card status first, then tick records individually or use Select All.
- Click "Add to Print Basket". A toast confirms how many cards were added, with a shortcut to view the basket. Adding the same card twice is harmless — duplicates are ignored.
- Switch and repeat. Change school, change record type, add more. The basket count in the sidebar updates live.
- Open the basket. Click the Print Basket icon — the drawer slides down from the top of the dashboard, showing every group, its school name, record type, and card count.
- Trim the queue. Remove a single card or an entire group. Nothing is deleted from your database — the basket only holds print references.
- Export the combined PDF. Choose your settings and download a single merged file.
Export Settings That Matter for Printing
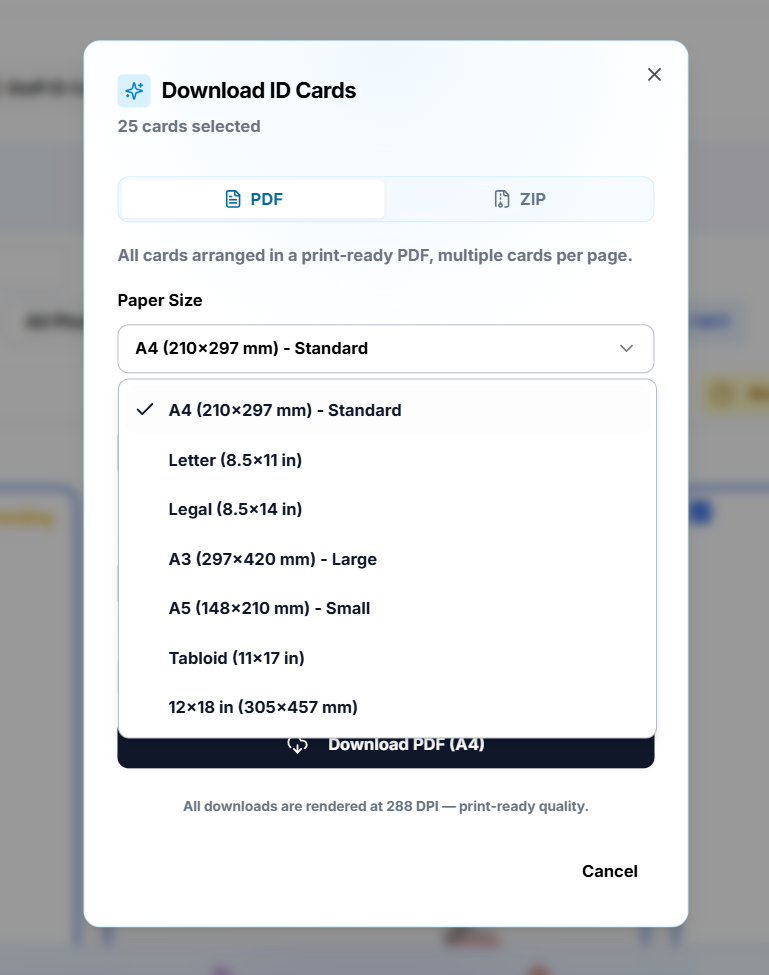
Paper size
A4 is the default for most Indian print shops, with A3 and Letter also available. The layout engine fits as many cards per sheet as the size allows — see our ID card sizes and print-ready guide for how CR80 cards map onto A4.
Print quality (DPI)
Higher render scale means a larger file and sharper output. For PVC card printers and professional lamination, use the highest quality available; for a quick office proof, a lower scale is faster and perfectly readable.
Card gap
- Auto — even spacing, easiest to cut by hand with a trimmer
- No gap (laser-cut) — cards butt directly against each other, for die-cutting or laser-cutting workflows
- 1 mm gap — a thin cutting allowance that keeps borders clean without wasting sheet space
Fill order
Row by row or column by column. This matters more than it looks: it decides the physical order cards come off the sheet, which decides how fast you can sort them back into class order after cutting.
Why Vendors Care
- No wasted card stock. Leftovers from four schools fill one sheet instead of four part-used sheets.
- One print job. Send a single PDF to the printer instead of babysitting six separate exports.
- Reprints become trivial. A rejected card here, a corrected spelling there — collect them across the week and print them together.
- The queue is persistent. Build the basket over an afternoon; it is still there when you come back to it.
Double-Sided Cards in the Basket
Each group in the basket remembers whether its template is double-sided, so back sides are carried through the combined export automatically. If you are printing front-and-back cards, read our double-sided ID card printing guide to pick the right layout for your printer before exporting.
A Habit Worth Building
The most efficient vendors we see treat the basket as a running work queue: every correction, every new admission, every reprint request goes into the basket the moment it comes in. At the end of the day, one export, one print run, done.
Open your dashboard and add your first batch — or read the Print Basket section of the tutorial for a walkthrough with screenshots.