Why the Back Side Is Not Optional
A single-sided card can only carry so much. The front belongs to identity — photo, name, class, roll number, school logo. Everything else that a card actually needs in daily use ends up fighting for space: the emergency number, the bus route, the blood group, the rules, the validity date.
Put those on the back and both faces get to breathe. The front stays clean and readable from a distance; the back carries the detail that matters when someone actually picks the card up.
What to Put on the Back
- School address and phone number — the single most useful thing on a lost card
- Emergency contact — parent or guardian number, clearly labelled
- Blood group — small print, big value
- Bus route or stop — for transport students, this saves the conductor real time
- Short rules or a lost-and-found line — "If found, please return to the school office at the address above"
- Validity period — "Valid for session 2026–27"
- Principal's signature — scan it once and place it as an image
- QR code or barcode — moving these to the back keeps the front uncluttered; see our QR and barcode guide
Designing the Back in ID Card Master
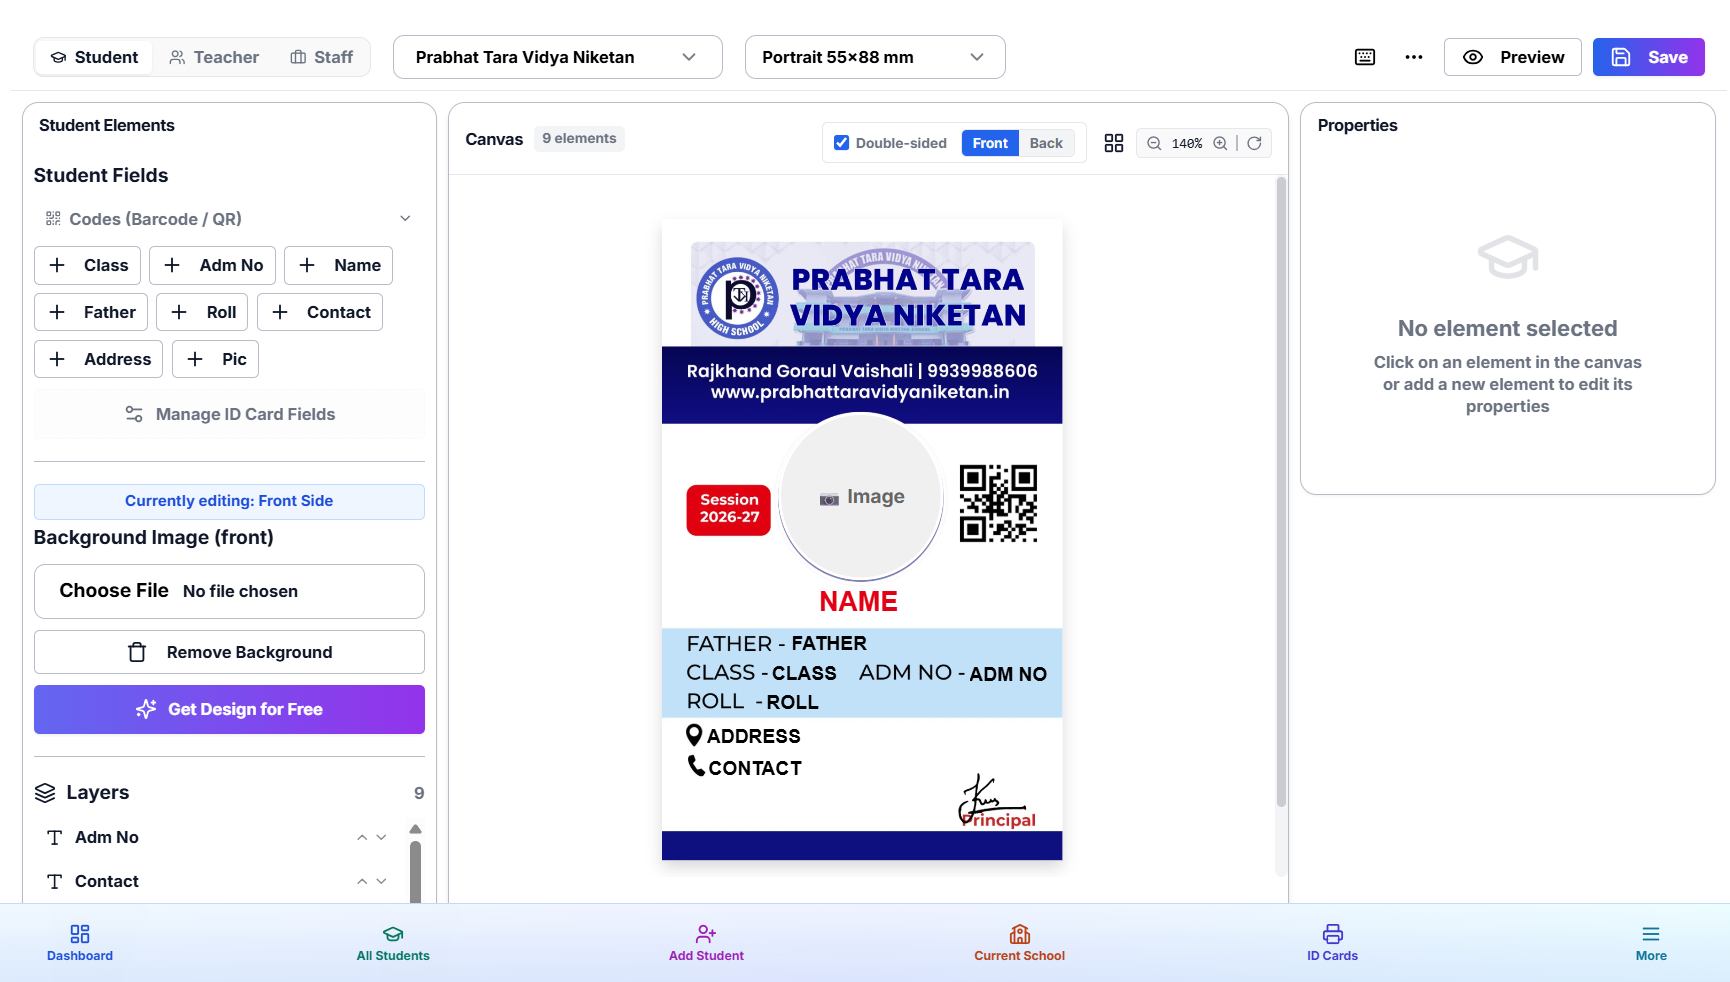
- Enable double-sided on the template in the designer. A Back tab appears next to Front.
- Design it like the front. Same tools: background image, text elements, images, shapes, QR and barcodes, and auto-fit text fields.
- Or mirror the front. Tick Same as front and the back stays an exact, locked copy of the front — it keeps updating live as you edit the front. Useful for cards where both faces are the same artwork, or as a starting point.
- Leave the orientation alone. Portrait or landscape is resolved from the card's dimensions and applies to both faces, so the two sides always align when cut.
- Preview both faces in the card preview and on the ID Cards page before you spend a sheet of PVC.
A template counts as double-sided as soon as it has a back background or any element on the back — so if you added something to the back, exports will carry it through automatically.
The Three Print Layouts — and Which One You Need
This is the part that decides whether your cards come out usable. When you export a double-sided batch, ID Card Master asks how the back should be printed. Three options:
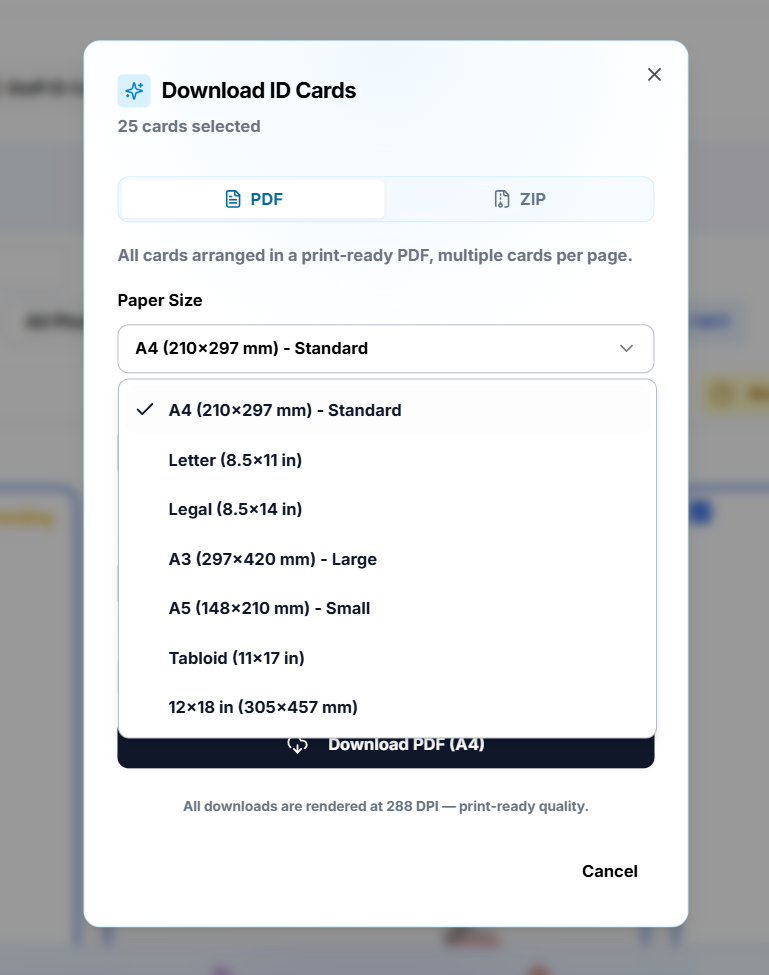
1. Fold & Cut — for ordinary single-side printers
Front and back are printed on the same page, with the back flipped upside-down. You print on one side of the paper only, fold along the middle, and cut. The fold puts the back exactly behind the front, giving you a genuine two-sided card without a duplex printer.
Use this if: you print on a normal inkjet or laser printer and finish cards with lamination or pouches.
2. Side View — for proofing and custom cutting
Front and back sit side by side with no flipping at all. It is the honest, as-designed view of both faces.
Use this if: you are checking a design with the school before production, or you cut and assemble cards your own way and the flip gets in your way.
3. Both Pages — for duplex printers
All the fronts go on one page and all the backs on the next, with the back columns mirrored so each back lands behind its own front once the sheet is flipped. Send it to a printer with automatic double-sided printing and it comes out aligned.
Use this if: your printer does duplex automatically, or you are handing the PDF to a commercial press.
Getting Alignment Right the First Time
- Always print one test sheet on plain paper. Cut it, hold it up, check that the back matches the front. One wasted A4 sheet beats fifty wasted PVC cards.
- If backs are on the wrong edge, switch your printer's duplex setting between long-edge and short-edge binding, then retest. This is the cause of the mismatch far more often than the PDF is.
- Turn off "fit to page" / scaling in the printer dialog. Print at 100% — any scaling shifts cards off the cut lines and breaks alignment between the two sides.
- Use the card gap setting deliberately. No gap for die-cut and laser-cut workflows; auto or 1 mm when you are cutting with a trimmer and want a little tolerance.
- Keep important content away from the edges. Leave at least 3 mm of margin — cutting is never perfect, and text near the trim line will eventually get clipped.
Double-Sided in Bulk
Everything above works at scale. Queue double-sided cards into the Print Basket and the back sides carry through the combined export — even when the basket holds several schools with different templates. And if you need a different back design per class or house, the Condition Designer can swap the back background per field value alongside the front.
For paper sizing and how many CR80 cards fit on a sheet, see the ID card sizes and print-ready guide. If you are still deciding between an office printer and a dedicated PVC card printer, our home vs professional printing comparison covers the economics.
Start With the Back You Already Need
If you print for schools, you already know what the back of their card should say — you have been squeezing it onto the front. Open your designer, enable the back side, and move it where it belongs. The double-sided tutorial section has the full walkthrough.